14 Songs to Walk Down the Aisle To

http://www.withlovepapergoods.com

My favorite moment of a wedding is the slight few seconds right before loved ones stand for the bride.  My heart swells with every emotional joy possible.  The bride’s entrance is the first time the groom meets his beloved and I cannot imagine anything more magical than those moments. Can you believe it, I’m tearing up as I write this. But can you blame me? Love is the most beautiful creation we have and how lucky are we that we get to experience every type of love in this life – especially love that holds deepest commitment to one another.

The way your heart feels about the person you hold so dearly is the way your music should feel just by listening to it. And we have picked out a few songs for you to consider. We hope they light your soul and the grandeur and winsomeness inspires you during your planning process. Plus, the simple thought of greeting your true love at the alter to these song may be enough to carry you through.

1.  Postcard from 1952 – Explosions in the Sky
2.  Rest of My Life – Holley Maher – I listen and I feel like the grown up Juno would love her music.
3.  Adagio in D Minor
4.  These Moments – Antoine Dufour
5.  White Dress – Ben Rector 
6.  This Place is a Shelter – Olafur Arnalds
7.  You Heard Me Calling – Soft Pipes
8.  Lover’s Split – Broken Social Scene – The first part of this song is utterly enthralling bring on the slow-motion fans and doves please.
9.  Home – Lights and Motion – LOVE start it at :55 seconds and I feel like I’m in Neverland.
10. The Melody of a Fallen Tree – Windsor for the Derby
11.  Walking with Happiness – The Best Pessimist
12. The Eraser – Thom Yorke – This one is for the eclectic bride.  It is a beautiful song equipped with its own quirks.
13.  Forever Lost – God is an Astronaut
14.  The Light – The Album Leaf

Each of these songs contains the hope and joy the first day of your marriage brings. So go ahead and rock out girl, you know you want to.

Oh, Excitement!

bbdblogLife often throws us one curveball after the other.  However, sometimes these curveballs land us the winning home run. With the new year upon us, Tyler and I have chosen that when we become parents – I will hopefully resign as a teacher to be a stay-at-home mom.  This year has given us our share of difficulties and triumphs. But the greatest wisdom we have walked away with is family is first. I cherish the moments I have had with my family as a child and I know Tyler does too. We want to give our children all our parents were able to give us and more.

Upon this decision, of which was honestly hard for me to grasp at first. How can I be successful if I’m only a stay at home mom? – which I think, honestly now Sarah? Why was this even a thought haha. I realized plenty of doors were opening, even if I was eventually shutting my career in education temporarily.

The open door, winning home run, or whatever came in the form of pursuing graphic design. I’ve been able to take some classes online and learn more about Adobe Illustrator and Photoshop and I LOVE IT. I’ve always considered my passion to education.  Empowering children to see their potential and then challenging them to push further, but I suppose sometimes we can have more than one passion. While it will be sad to leave our wonderful school in a few years, I am more than ecstatic about being able to focus on being a mom and wife.

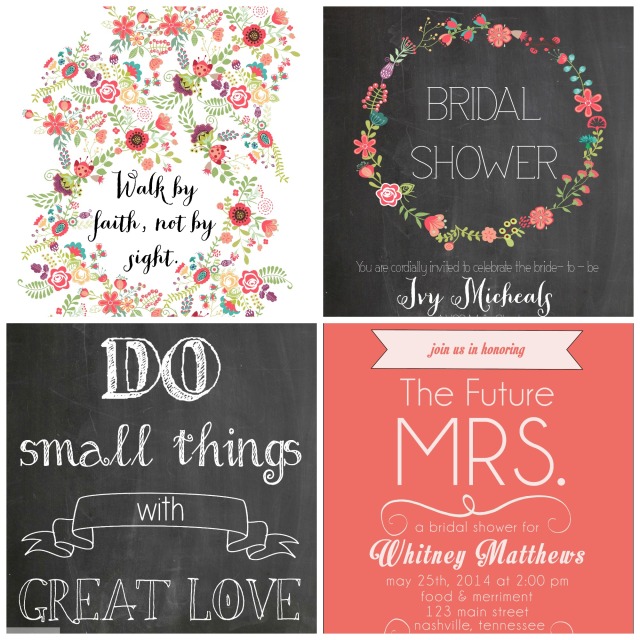
In order to have some sort of additional income, I have decided to open up my Etsy store once again.  I do not have very many prints available, but look forward to all this year will bring for my store.  A beautiful part of this life is being able to express yourself and I choose to express myself through Blissfully Buis Designs.  I will be making wedding invitations, shower invitations, and including my favorite quotes and scripture.  It is amazing what God can do for us when we walk by faith and not by sight.

DIY Felt Mistletoe

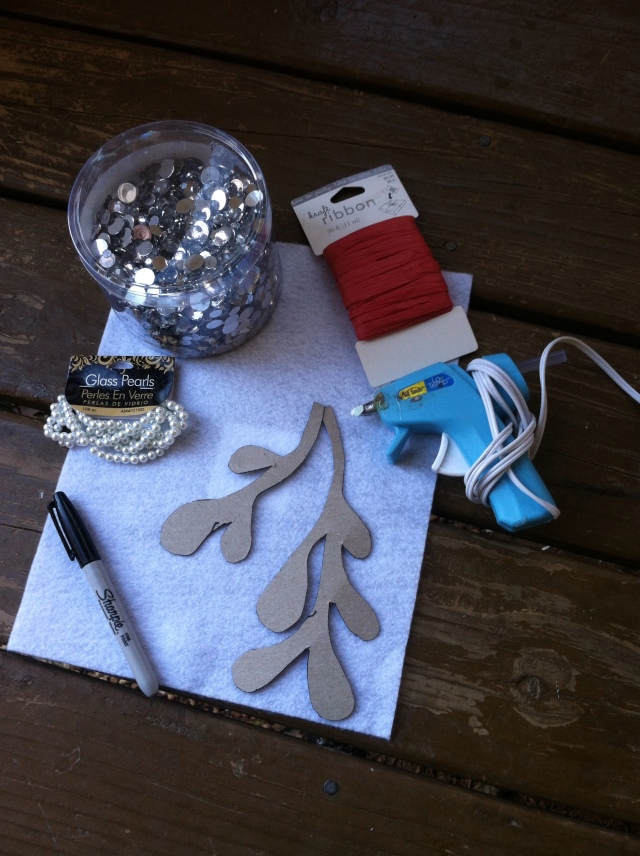
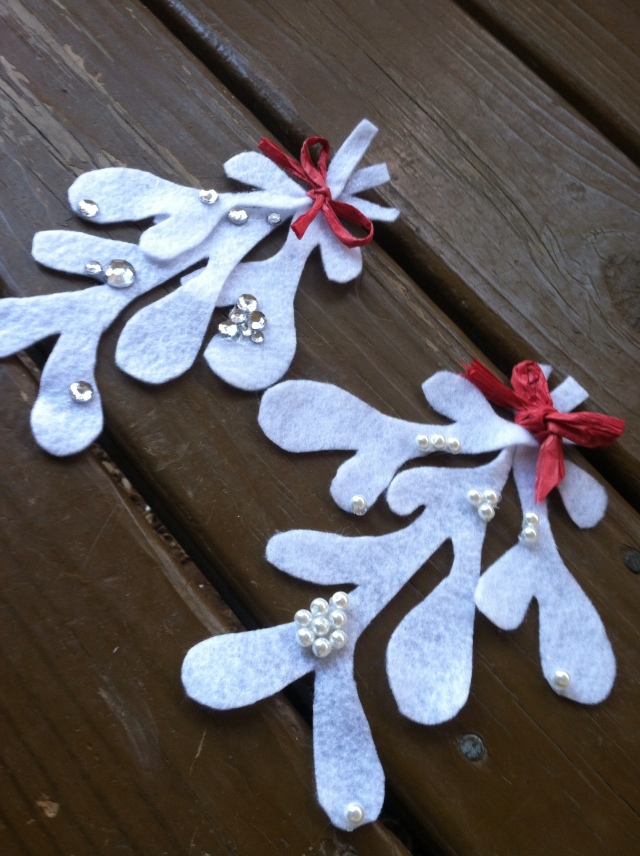
As promised, here is a quick and easy way to make mistletoe for your home! IMG_6904One piece of felt

Stencil ( I drew mine, but you can find one here)

Marker

Scissors

Embellishments of your choice

Hot glue gun

Ribbon

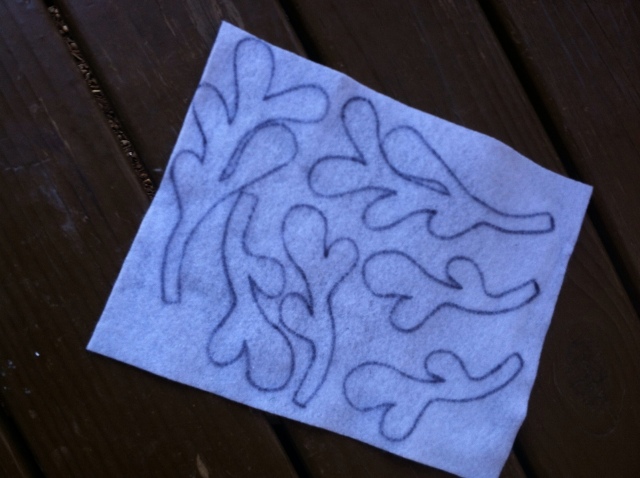
IMG_6900Step 1: Trace the mistletoe stencil onto the felt.  I made two mistletoe sprigs – which means I needed one big mistletoe sprig and two smaller ones for each.

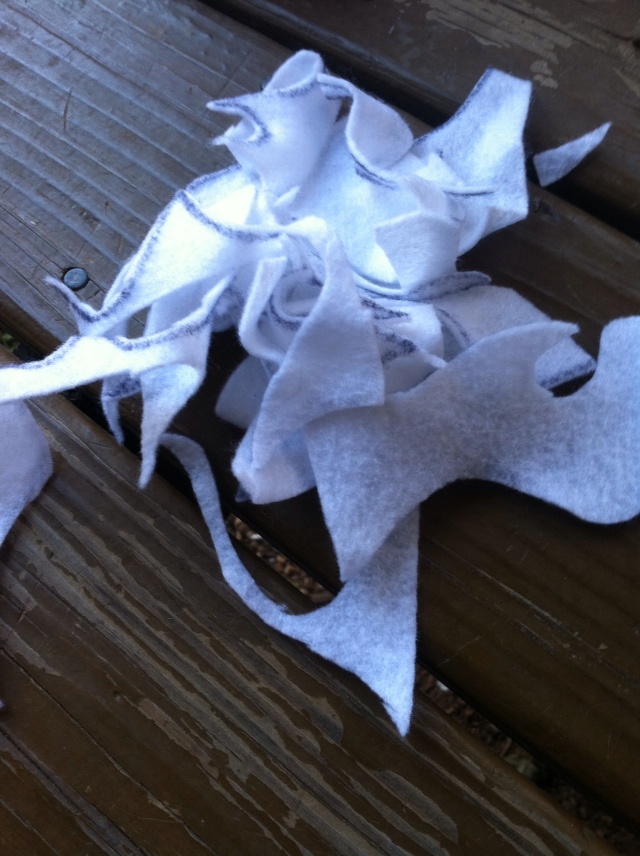
IMG_6891Step 2: Cut them out, baby.

IMG_6894

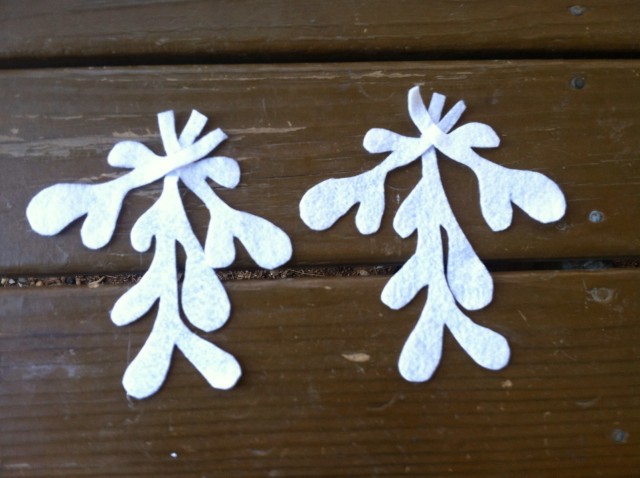
Step 3: Hot glue all three pieces at the top together.

IMG_6884Step 4: Hot glue embellishments onto your mistletoe.

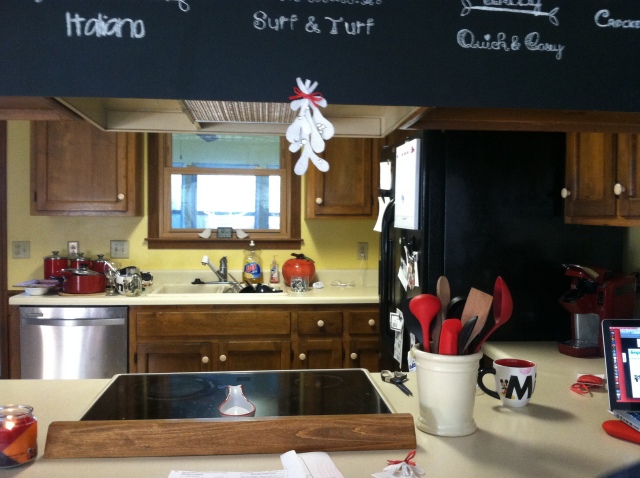
IMG_6877Step 5: Hang and let the kissing commence!

Heavenly Music

With Thanksgiving today, I was looking for some beautiful music to accompany our dinner. We are young and tomorrow should be spent just enjoying each other – not that we don’t do that every day.  But a time to remember everything we have to be thankful for – a relationship that has tempered through life’s fair share of obstacles. There’s nothing greater in life than the relationships we mold. The most extraordinary of them being the bond of marriage. Tyler and I have become one in heart and purpose for our whole life and I want a day to just revel in one of the biggest blessings of my life.  Music is used to make us feel something deeper than what we sense.  The songs below do just that.

Plus who doesn’t love a little Whitney?

Pom Pom DIY

IMG_5868Pom Poms are the perfect way to add a bit of spunk to not only your holiday decor, but also to a winter wedding! I love the ease of making these poms, and also how I can do anything  with them.  They can be strung to from garland, attached to dowels to become a sign or a pom bouquet, or scattered across a table to add a bit of quirk to your special day.

What you will need

Yarn – you can purchase a skein of yarn for about $2.50 from your local Walmart

Scissors

DIY Felt Flowers

IMG_5773In between raking leaves, drinking coffee with this amazing creamer, and rifling through boxes and putting our junk away, I’ve had the urge to make some garlands and itty bitty crafts for Christmas.  Don’t worry, there are a few Thanksgiving posts coming up, but I was too excited to not post this one!

Felt is a completely versatile material.  I’ve made bows, collars, and little stuffed animals from felt.  Today we’re trying our hand at making felt flowers!  I’m planning on using these as napkin rings, but for now, I’ve attached a pin onto the back of them.  Later I’ll pin them onto the ribbon I tie around the napkin.

The best part of making these is that they are kid friendly and very multifaceted. I’ve seen brides use these in topiaries, garlands, and even as hair accessories.

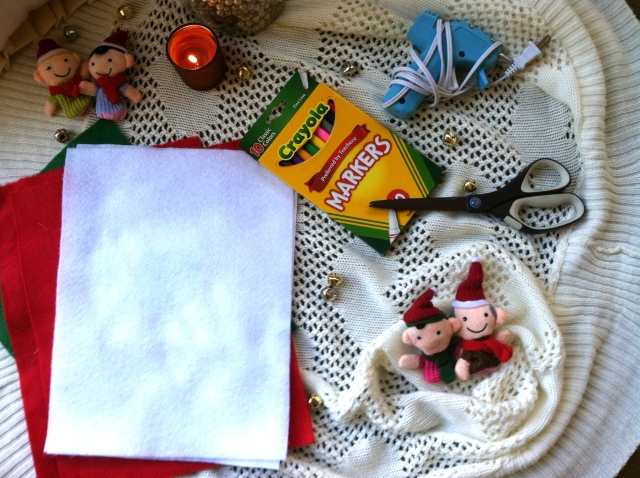
IMG_5763What you will need:

4 pieces of felt (any color)

Scissors

A candle or other small circular object to trace

Marker

Hot glue gun

Holiday cheer

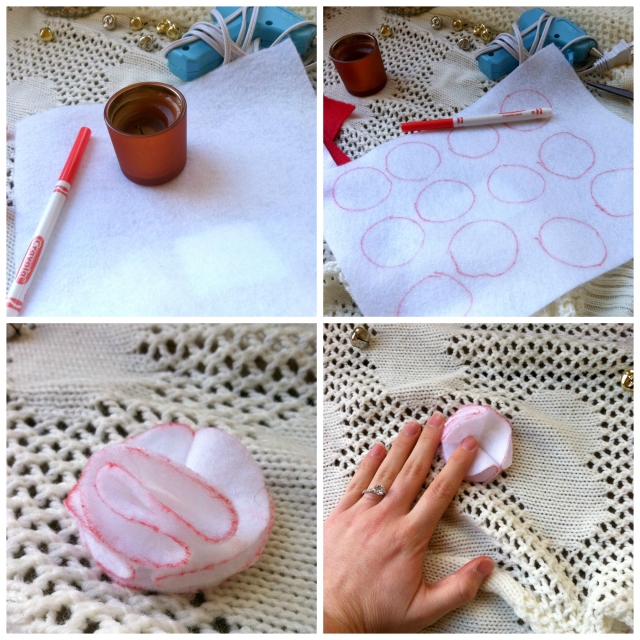
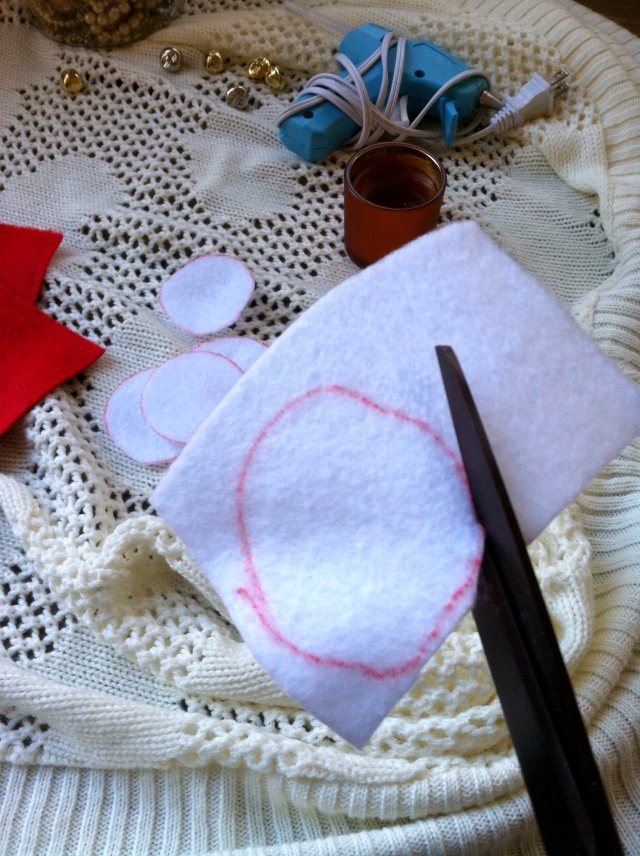
PicMonkey CollagewhitflowerIn order to make the small, white flowers, you will need to begin tracing the candle with a marker.  I used red because I wanted to keep the color on the outside after I cut it.  It looks very “candy cane-esque.” You will be able to get at least 16 small circles onto one sheet of felt (about 1.5 inches in diameter).

IMG_5746

The felt can be purchased at any craft store, I had a surplus leftover from a previous craft project.  I believe I bought this from Wal Mart for $0.25 a sheet.

IMG_5741Next you will begin to hot glue the petals.  Take a circle, keep it flat.  This will be your base.  Begin to fold the circles into fourths and glue at the tip of them.  I liked to fold it in half, glueing in a small dot into the middle, fold again, glue in the middle, and then glue it to the base.  Keep folding until you have 4 petals.  I stopped here and then glued a small pearl taken from an old costume jewelry necklace.  If you want to give your flower a more full, pom-pom effect, keep adding petals!

PicMonkey CollageredflowerThe red ones are a hoot to make! Take your felt and cut it into four pieces.  The purpose of this makes it easier to manipulate the felt while you cut.  Starting with the outside begin to make scallops in a circular patters, making sure that your scallops don’t match up (if each row of scallops is the same as the last, your flower will not have much dimension).

Once you have finished cutting, take our your hot glue gun, roll the middle into itself and glue.  Then you may begin wrapping the rest of the flower around the center.  I like to glue every third wrap, just to make sure the flower doesn’t fall apart.  I also added a pearl to the center of this flower!

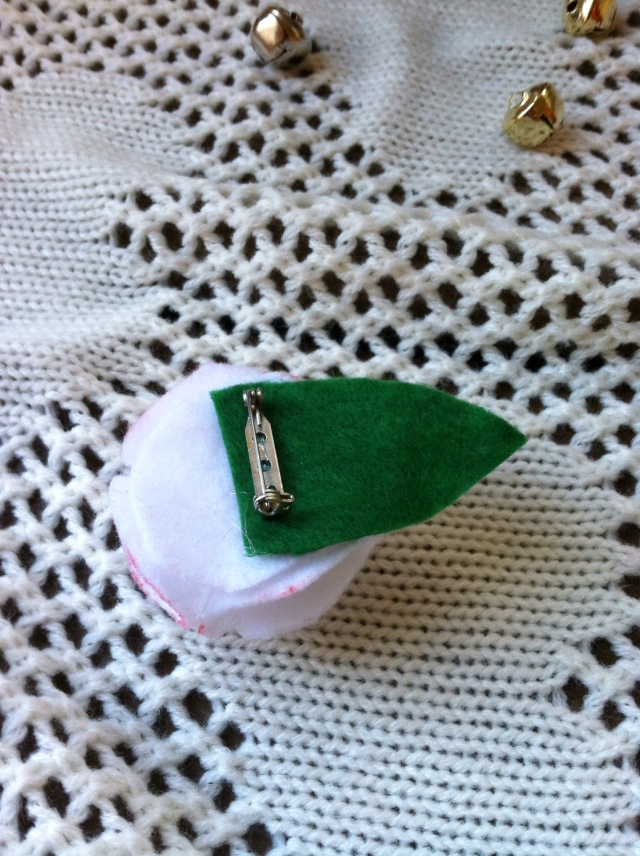
IMG_5779On the back, I added a small green, felt leaf for a spring of color.  I also glued a pin onto the back.  This way, when the flowers are not in use as napkin rings, I can put them on the lapel of may jackets or even in my hair!

IMG_5771Such a quick, easy way to liven up anything from a wedding to a small, family dinner!  Happy crafting!